

ExactFlow Order Settings Page User Guide
The Settings page in the Orders Configuration module lets you control how orders, returns, and order sources behave in ExactFlow. This page helps you manage order completion, order list display, returns workflow, and custom order sources.
How to Open the Settings Page
Log in to your ExactFlow account.
From the left sidebar, click Orders.
Under Orders, click Settings.
You will see several sub-sections:
-
Settings
-
Returns
-
Custom order sources
-
Orders logs
SECTION 1: SETTINGS
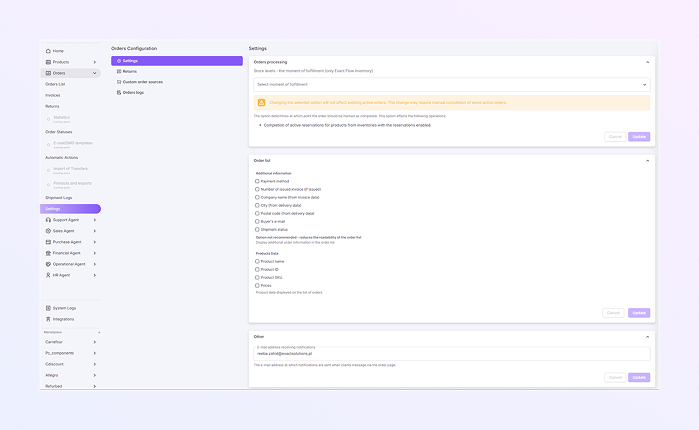
Orders Processing
This section controls when an order is marked as completed and how stock is handled.
-
In Stock Levels – Moment of Fulfillment, select the moment of fulfillment from a dropdown that decides at what stage an order is considered completed.
-
It affects inventory reservations (only for ExactFlow inventory).
-
Changing this option does NOT affect existing active orders.
-
Some active orders may need manual completion after the change.
-
Saves your changes by clicking the update button, or Discards changes by clicking the cancel button.
Order List
-
This section controls what information is visible in the Orders List table.
-
Additional Information (Checkboxes): You can choose which extra details appear in the order list. Available options:
-
Payment method
-
Number of issued invoices (if issued)
-
Company name (from invoice data)
-
City (from delivery data)
-
Postal code (from delivery data)
-
Buyer’s e-mail
-
Shipment status
-
-
Note: Enabling too many options may reduce the readability of the order list.
-
Products Data: This section controls product-related information shown in the order list. Available options:
-
Product name
-
Product ID
-
Product SKU
-
Prices
-
-
Saves selected display options by clicking the update button, or Discards changes by clicking the cancel button.
Other
-
Enter an email address that will receive notifications.
-
Notifications are sent when customers message via the order page.
-
Saves the email address by clicking the update button, or Discards changes by clicking the cancel button.
SECTION 2: RETURNS
This page controls how returns are handled, including statuses, reasons, and workflows.
Returns Statuses
-
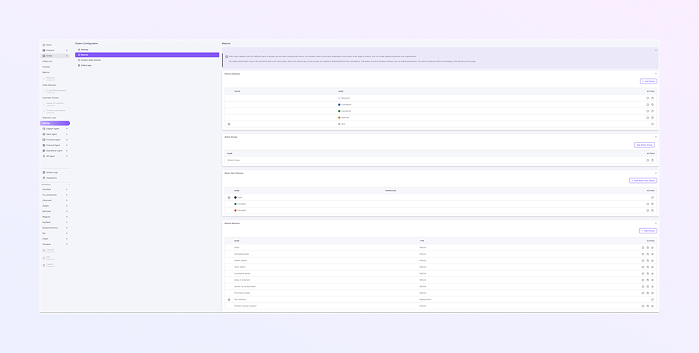
This section shows the main statuses for return orders.
-
Some Return Statuses
-
Received
-
In progress
-
Completed
-
Rejected
-
New
-
-
The status with a star icon is the Basic Status for New Orders Returns. Cannot be deleted.
-
Edit using the pencil icon to modify status details and delete using the trash icon to remove the status if allowed.
-
Click Add Status to create a custom return status. Add color, basic name, and select the status group.
Status Groups
-
Groups define which statuses appear together.
-
Edit using the pencil icon to modify group details and delete existing groups using the trash icon if allowed.
-
Click Add Status Group to create a status group by adding a group name.
Return Item Statuses
-
This section controls the condition of returned items. Available statuses:
-
None
-
Accepted
-
Damaged
-
-
These statuses help warehouse teams determine how to handle returned products.
-
Edit using the pencil icon to modify status details and delete using the trash icon to remove the status if allowed.
-
Click Add return item Status to create a custom return status. Add color, basic name, and select the warehouse.
Return Reasons
-
This section defines why customers return items. Common Reasons Shown
-
Damaged goods
-
Hidden defect
-
Other defect
-
Incomplete goods
-
Delay in shipment
-
Goods not as described
-
Purchase mistake
-
Problem during transport
-
-
Reason Types are Refund, Repair, and Replacement.
-
Edit using the pencil icon to modify details, and delete existing reasons using the trash icon if allowed.
-
Mark a reason as the default by the star icon.
-
Click Add Reason to create a return reason by adding the return type and selecting the available languages.
SECTION 3: CUSTOM ORDER SOURCES
This page lets you manage where orders come from.
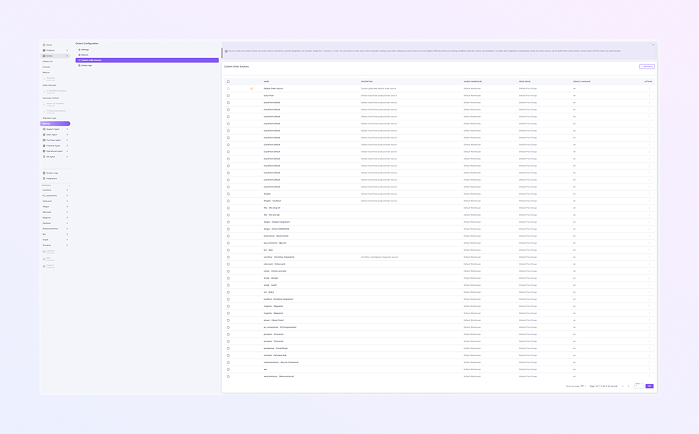
Custom Order Sources Table
-
Columns are:
-
Name: Name of the order source (e.g., Shopify, Allegro, Magento)
-
Description: Short explanation of the source
-
Source Warehouse: Warehouse assigned to this source
-
Price Group: Pricing rules used for orders from this source
-
Default Language: Language used for orders (e.g., EN)
-
Actions: Edit or manage the source
-
-
⭐ The starred source is the Basic Status for new Order items Returns. Cannot be deleted.
Add New Source
-
Click Add Source (top right). Fill these fields:
-
Name
-
Description
-
Select warehouse
-
Select Price group
-
Select language
-
-
Click the Add button after entering all the details, or discard by clicking the Cancel button.
SECTION 4: ORDERS LOGS
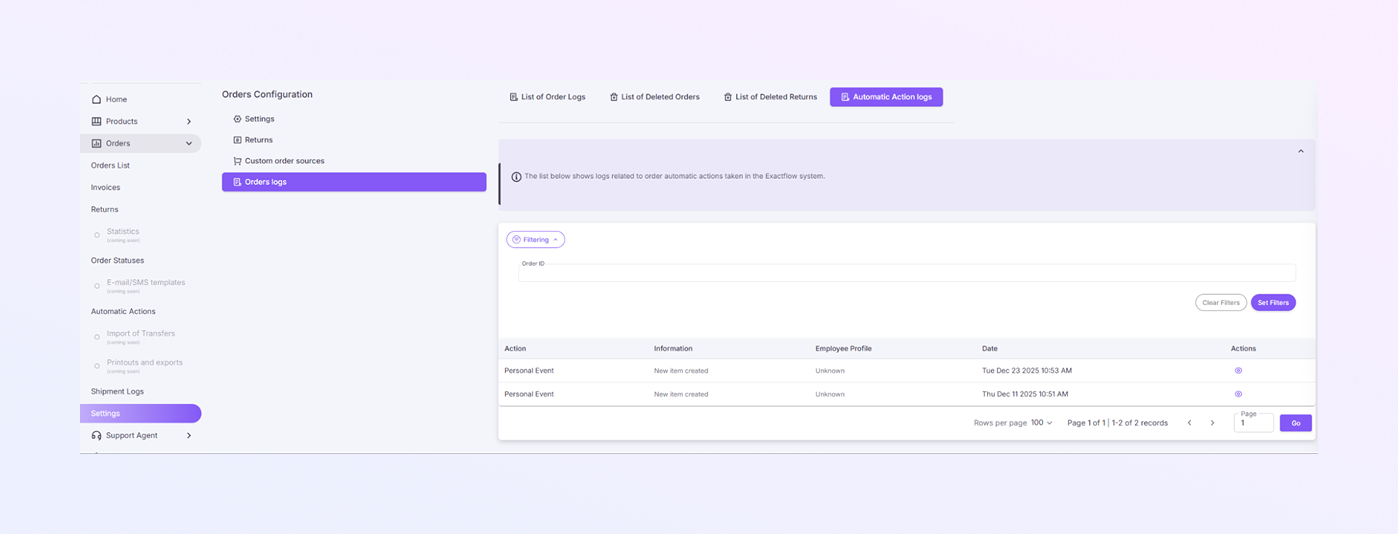
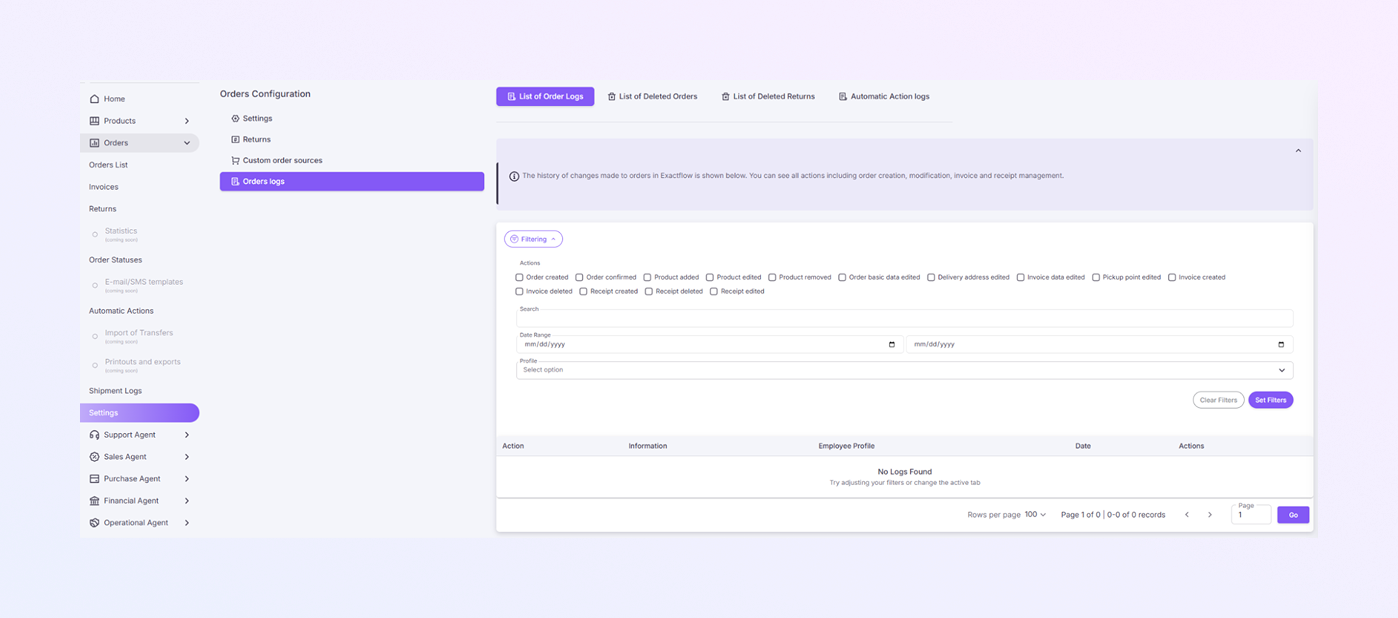
This section stores system activity related to orders. At the top, you see the four tabs: Orders logs, Deleted orders, Deleted returns, and automatic action log.
Log Table (Main Section)
This table displays all logged actions for the pages mentioned above, related to orders, deleted orders, deleted returns, and automatic actions on their respective tabs.
-
Action: This column displays the action performed on the order (e.g., Order Created, Invoice Created).
-
Information: Displays details about the action, such as what was changed or updated.
-
Employee Profile: The name of the employee who acted.
-
Date: Shows the date and time the action took place.
-
Actions: Includes an icon (usually an eye) that you can click to view more details about the action taken on the order.
Orders Logs
-
You can filter and search for specific order logs based on various criteria. Available Filter Fields:
-
Actions: This is a checkbox list where you can select specific actions related to orders, such as:
-
Order created
-
Order confirmed
-
Product added
-
Invoice created
-
And more...
-
-
Search: Type keywords related to the order you are looking for. This can be an order number, product name, etc.
-
Date Range: You can select a start and end date to narrow down the logs to a specific period.
-
Profile: Select an employee profile from the drop-down list to filter logs by the employee who acted.
-
-
Set Filters: This button applies all the selected filters and updates the logs accordingly.
-
Clear Filters: Click this to remove all filters and view the full list of orders.
Deleted Orders Tab
-
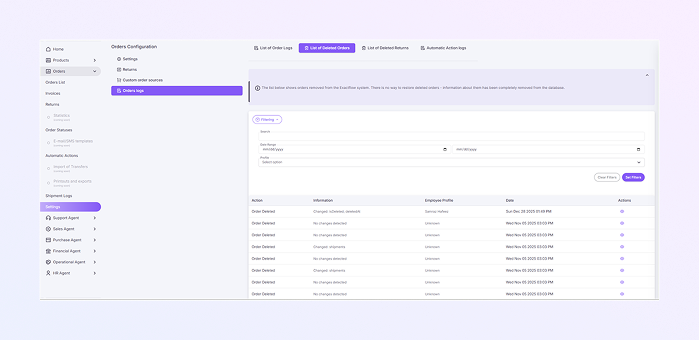
If you are interested in deleted orders, you can navigate to the List of Deleted Orders. This tab shows a history of orders that have been deleted from the ExactFlow system.
-
Available Filter Fields for Deleted Orders
-
Search: Enter keywords to search for a specific deleted order.
-
Date Range: Choose a start and end date to filter deleted orders within a specific time frame.
-
Profile: Select the profile of the employee who deleted the order.
-
Deleted Returns Tab
-
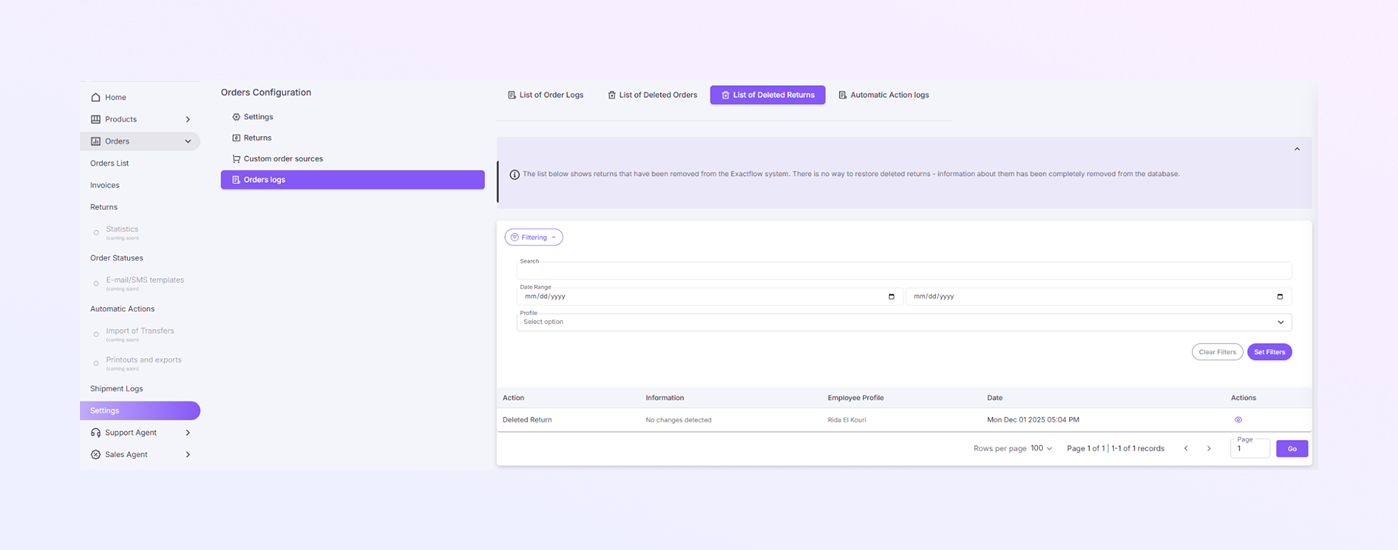
This tab shows deleted returns from the ExactFlow system. Similar to deleted orders, deleted returns cannot be restored, and their data is completely removed from the system.
-
Available Filter Fields for Deleted Returns
-
Search: You can enter keywords to search for a specific deleted return.
-
Date Range: Filter deleted returns by selecting a start and end date.
-
Profile: You can filter by the employee profile associated with the deleted return.
-
Automatic Action logs Tab
-
This tab shows automatic action logs from the ExactFlow system. Available Filter Fields for automatic action logs:
-
Order ID: You can enter the order ID to search for a specific automatic action.
-