

ExactFlow Order Statuses Page User Guide
The Order Statuses page helps you manage and control how orders move through different stages (for example: New, Sent, In Transit, Cancelled). These statuses make it easy to track order progress and automate actions.
How to Open the Order Statuses Page
From the left sidebar, click Orders.
Select Order Statuses.
You will now see the Order Statuses management page.
Page Overview
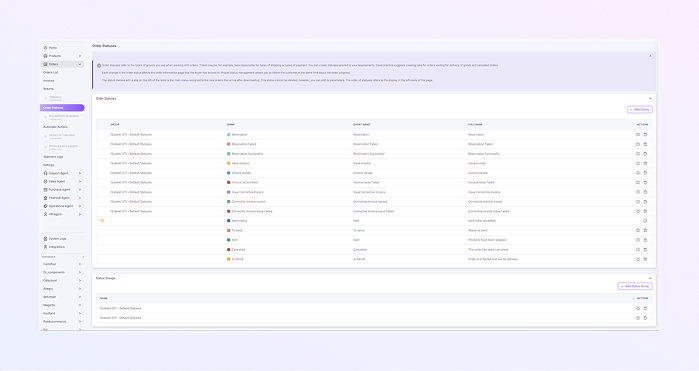
The page has two main sections:
-
Order Statuses (top section)
-
Status Groups (bottom section)
Order Statuses Section (Top Table)
This table lists all available order statuses.
-
Group: Shows which status group this status belongs to.
-
Name: Internal name of the status (used in the system).
-
Short Name: Short label shown in lists or tabs.
-
Full Name: Full description shown to users.
-
Actions: For each status, you can:
-
Edit: Modify the status name or settings
-
Delete: Remove the status (only for custom statuses)
-
Main (Default) Order Status
-
The status marked with a star icon (⭐) is the default status.
-
This status is automatically assigned to new orders when they arrive.
-
Default statuses cannot be deleted.
-
You can edit their settings if needed.
Status Color Indicators
Each status has a color dot next to it:
-
🟢 Green: Successful or completed action
-
🔴 Red: Failed or cancelled action
-
🟡 Yellow: Pending or in progress
-
🔵 Blue: Informational or starting stage
Colors help you quickly understand the order state.
Adding a New Order Status
-
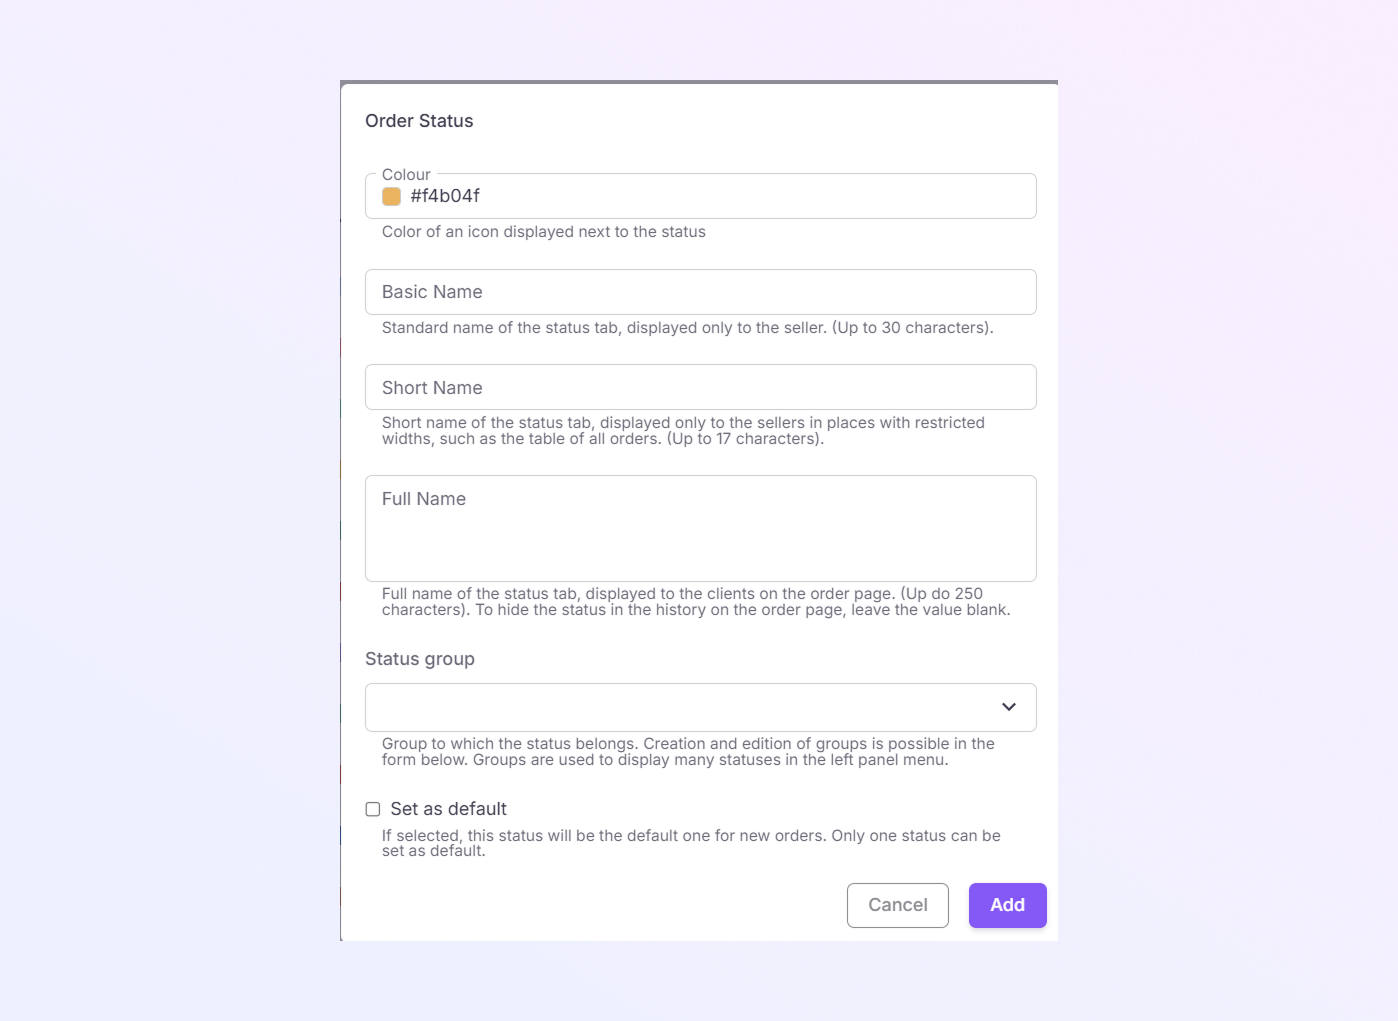
Click the + Add Status button (top-right).
-
Select the Color of the icon displayed next to the status
-
Enter the Standard name of the status tab, displayed only to the seller. (Up to 30 characters).
-
Enter the Short name of the status tab, displayed only to the sellers in places with restricted widths, such as the table of all orders. (Up to 17 characters).
-
Enter the Full name of the status tab, displayed to the clients on the order page. (Up to 250 characters). To hide the status in the history on the order page, leave the value blank.
-
Select the Status Group to which the status belongs. Creation and editing of groups is possible in the form below. Groups are used to display many statuses in the left panel menu.
-
If the Checkbox is set as the default selected, this status will be the default one for new orders. Only one status can be set as the default.
-
Save the status by clicking the Add button. Your new status will appear in the list.
Status Groups Section (Bottom Table)
Status groups help you organize statuses into categories.
Example:
-
Default Statuses
-
Custom shipping statuses
-
Payment-related statuses
Status Groups Columns:
-
Name: Name of the status group
-
Actions: Edit or delete the group
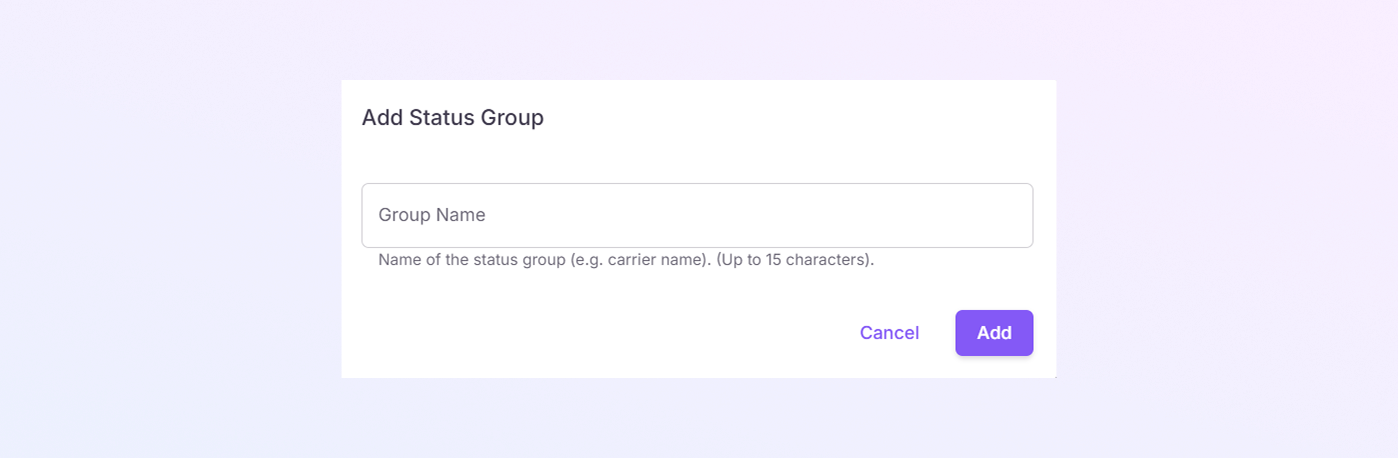
Adding a New Status Group:
-
Click + Add Status Group.
-
Enter a group name. (Up to 15 characters).
-
Add it.
You can now assign statuses to this group.